As of version 4.6.1, badge printing has been replaced with Humanforce Check In.
Check In allows you to check into work prior to clocking on for your shift, and is linked to printing a wristband or badge.
As of 4.6.1, Humanforce can be configured to interface directly with Zebra printers using ZPL (Zebra Programming Language). This allows for a much higher quality image and a fully customizable output in comparison to the traditional badge printing function.
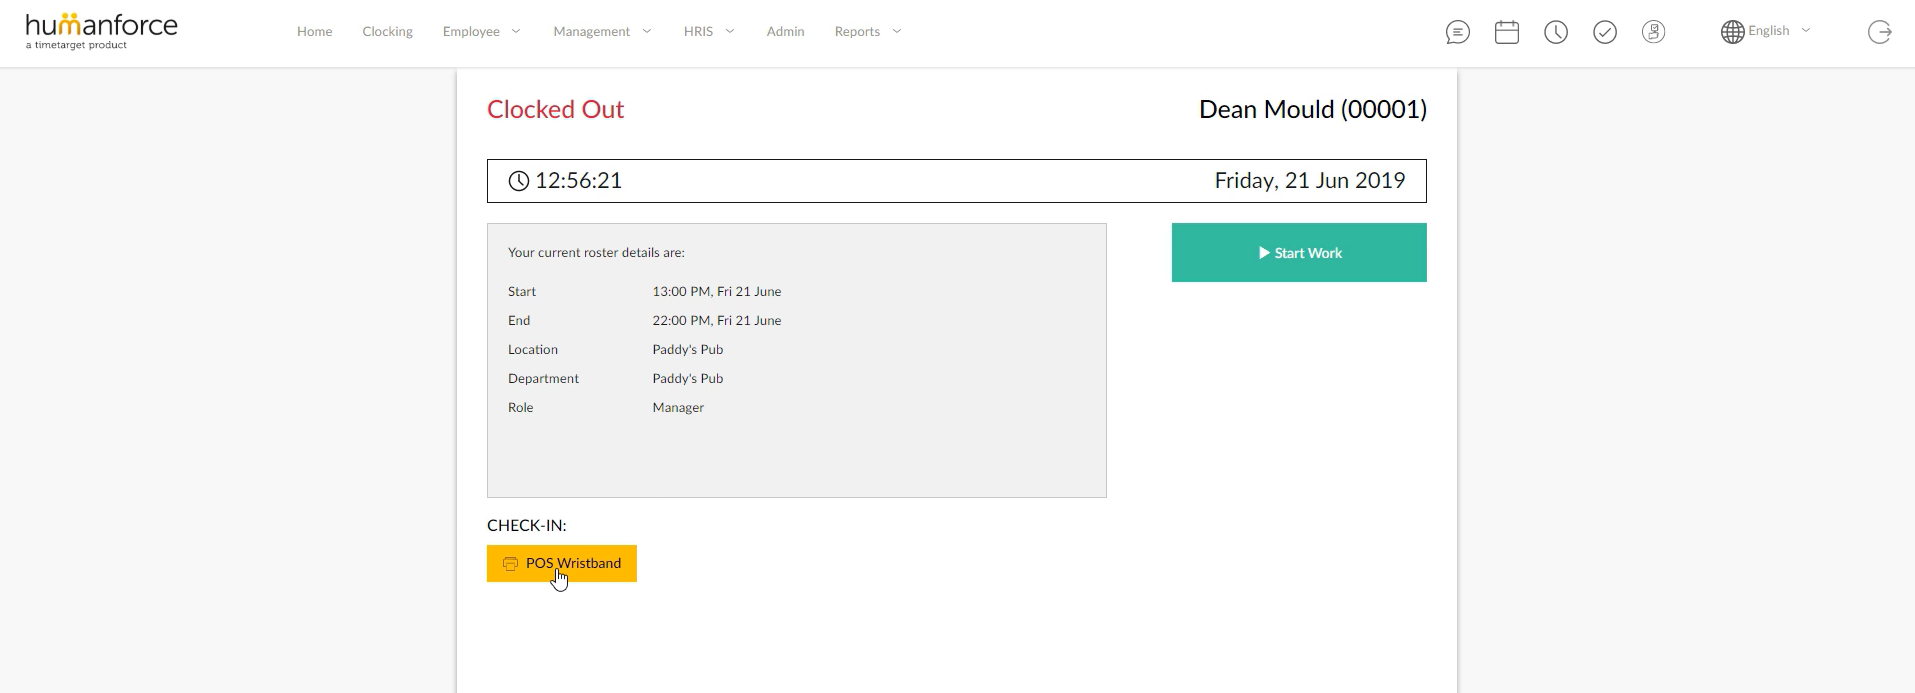
When the Check In feature is enabled, a new section will appear on the clocking screen called Check In. This will contain all configured check in options as per below.
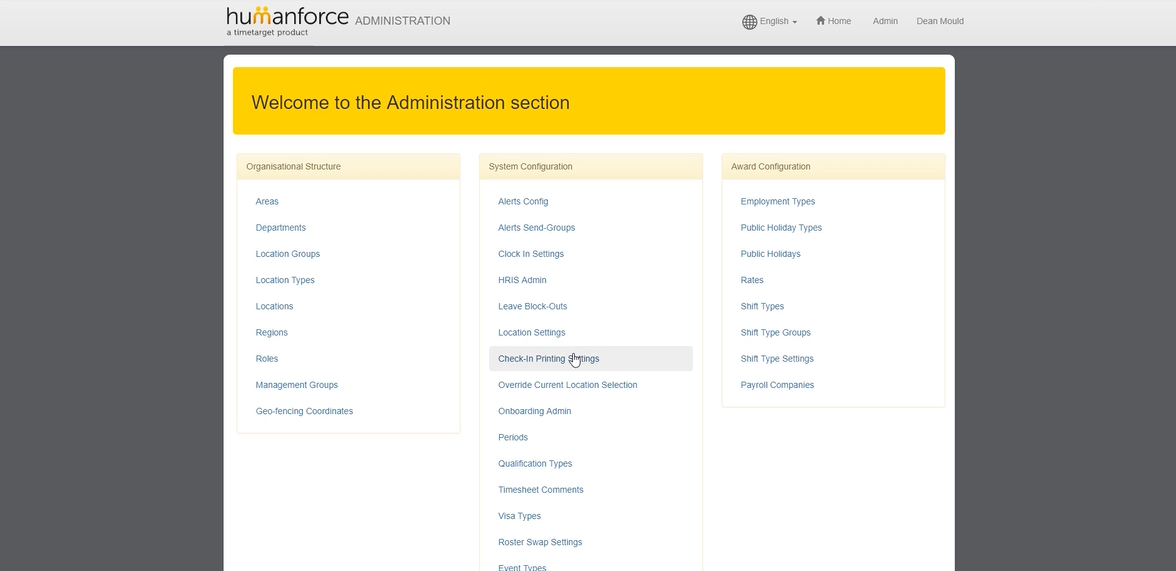
To configure the Check-In Printing settings, you need to enable the access level TimeTarget Online > View Admin Section > Check-In Printing Settings.
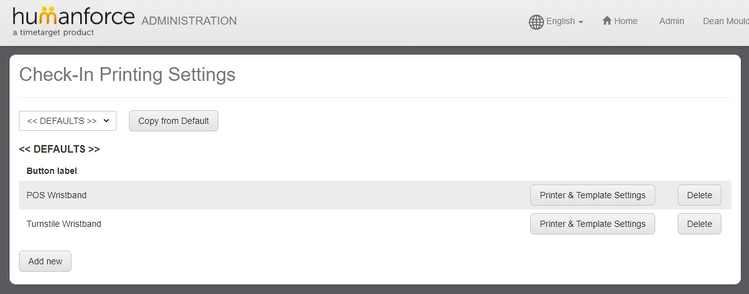
Existing check in setups will be listed, and can be configured for all or selected locations.
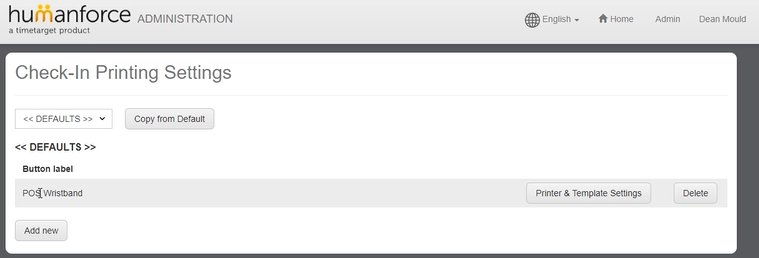
You can edit and modify existing templates or click 'Add new' to setup a new one.
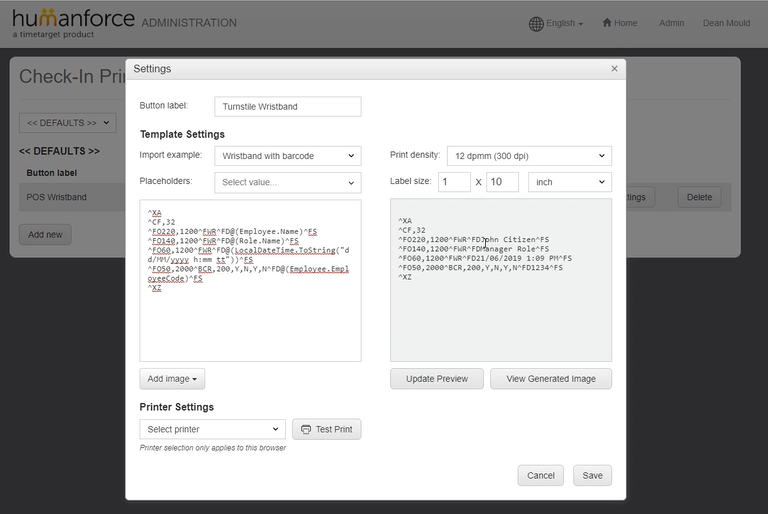
Field Descriptions
Button label - name of the button as it appears on the clocking page
Import example - a few system defined templates which can be used as a starting point when building your own template.
Placeholders - a list of system tags that can be embedded into the ZPL code to populate the printed wristband.
Print density - DPI setting which should be configured to match the printer being used.
Label size - the dimensions of the badge or wristband being used.
Add image - used to embed images into the wristband. Images can either be stored in the database or directly embedded in the code as text.
Update preview - compile and update the preview text on the right side panel. This will include example data if placeholders have been used.
View Generated Image - display the generated wristband on screen so you can review the layout.
Printer settings - list of available printers.
Test Print - print a test on the selected printer.
The complete ZPL documentation can be found through the below link.
Below is an example of how the configured Point of Sale and Turnstile wristbands would appear for an employee on the clocking screen.
